How to Season a Dutch Oven: What You Need to Know

A Dutch oven is a versatile cooking vessel used for centuries to create delicious and hearty meals. Its thick walls and tight-fitting lid make it an ideal choice for slow cooking, roasting, baking, and frying. Seasoning your Dutch oven for optimum performance and longevity is essential. In this article, we’ll walk you through seasoning a Dutch oven step by step.
Introduction
Seasoning a Dutch oven creates a natural non-stick surface, protecting the cast iron from rust. By seasoning your Dutch oven, you improve its cooking performance and extend its lifespan. Proper seasoning is essential whether you have purchased or inherited a new Dutch oven.
What is a Dutch Oven?
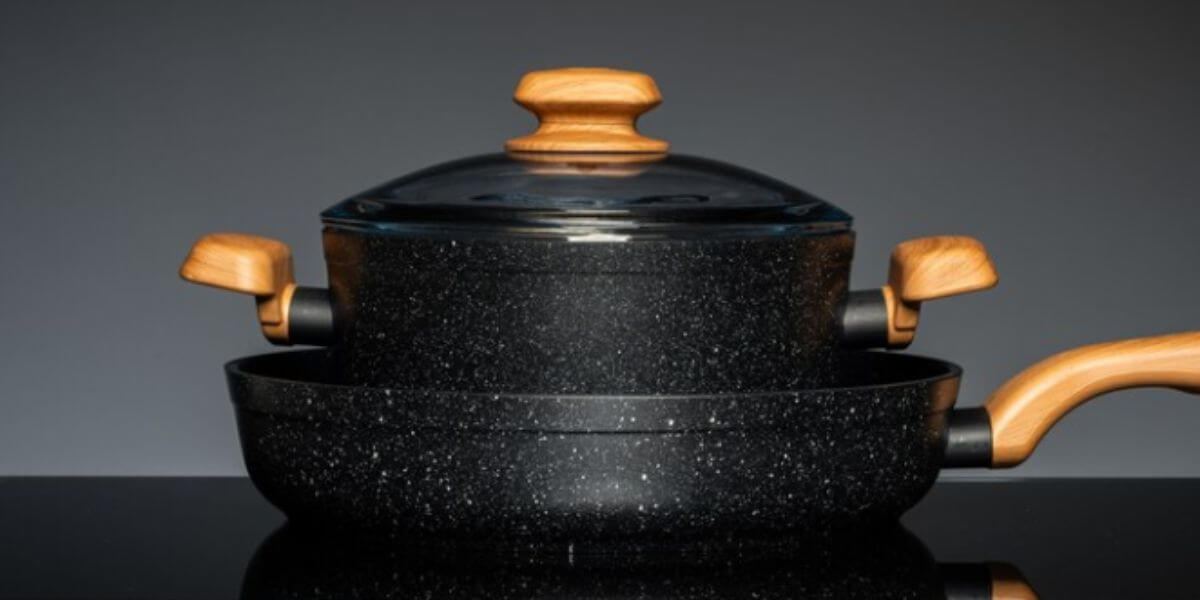
Before we delve into seasoning, let’s briefly discuss what a Dutch oven is. A Dutch oven is a heavy-duty cooking pot with a thick-walled, tight-fitting lid. Traditionally made of cast iron, Dutch ovens can also be found in enameled cast iron or other materials. They are famous for their excellent heat retention and distribution, making them ideal for various cooking methods.
Why is Seasoning Important for a Dutch Oven?
Seasoning a Dutch oven serves two primary purposes: creating a non-stick surface and preventing rust. When correctly seasoned cast iron, it forms a natural, slick coating that helps prevent food from sticking during cooking. Additionally, the seasoning acts as a protective layer, preventing moisture from reaching the iron and causing rust.
Step-by-Step Guide to Seasoning a Dutch Oven

Gathering the necessary materials
To begin the seasoning process, pick the following materials:
- A new or clean Dutch oven
- Mild dish soap
- A sponge or soft brush
- Clean, lint-free cloth or paper towels
- High smoke point oil (e.g., vegetable oil, canola oil, flaxseed oil)
Cleaning the Dutch oven
Before seasoning:
- Ensure that your Dutch oven is clean.
- Wash it with mild dish soap and warm water.
- Use a sponge or soft brush to remove any food residue or debris.
- Rinse it thoroughly and dry it with a clean cloth or paper towel.
Applying a thin layer of oil
Next, apply a thin layer of oil to the entire Dutch oven, including the lid, bottom, and sides. Use a clean cloth or paper towel to spread the oil evenly. Make sure to coat every surface, including the handle. Excess fat should be wiped off.
Heating the Dutch oven
Now it’s time to heat the Dutch oven. Place it upside down in an oven preheated to 350°F (175°C). Position a baking sheet or aluminum foil on the lower rack to catch drips. Let the Dutch oven bake for one hour to allow the oil to polymerize and create a non-stick coating.
Cooling and storing the Dutch oven
After one hour, please turn off the oven and let the Dutch oven cool inside for at least two hours or until it’s safe to handle. Once it has cooled down, please remove it from the oven and inspect the seasoning. If the surface appears sticky or uneven, repeat the seasoning process. Store the Dutch oven in a cool, dry place to prevent moisture buildup.
Tips for Maintaining a Seasoned Dutch Oven
To keep your Dutch oven in top condition, follow these maintenance tips:
Benefits of a Well-Seasoned Dutch Oven
A correctly seasoned Dutch oven offers several benefits:
Conclusion
Seasoning a Dutch oven is a simple yet essential process to enhance its performance and longevity. Following the step-by-step guide outlined in this article, you can create a non-stick surface and protect your Dutch oven from rust. Remember to maintain your seasoned Dutch oven properly to enjoy its benefits for years.
Frequently Asked Questions
How often should I season my Dutch oven?
Seasoning your Dutch oven once every few months or as needed is recommended. Keep an eye on the condition of the seasoning and re-season if it becomes dull or the food starts to stick.
Can I use vegetable oil for seasoning?
Yes, vegetable oil commonly uses for seasoning Dutch ovens. Other high smoke points oils like canola or flaxseed can also use.
Can I season a Dutch oven with flaxseed oil?
Flaxseed oil is often preferred for seasoning as it has a high smoke point and creates a durable seasoning layer. However, it can be more expensive compared to other oils.
Is it necessary to season an enameled Dutch oven?
No, enameled Dutch ovens have a built-in protective layer, so seasoning is unnecessary. However, it’s still essential to follow the manufacturer’s guidelines for care and maintenance.